It’s that time again…..
After a long school year, your kids are probably excited for summer vacation!
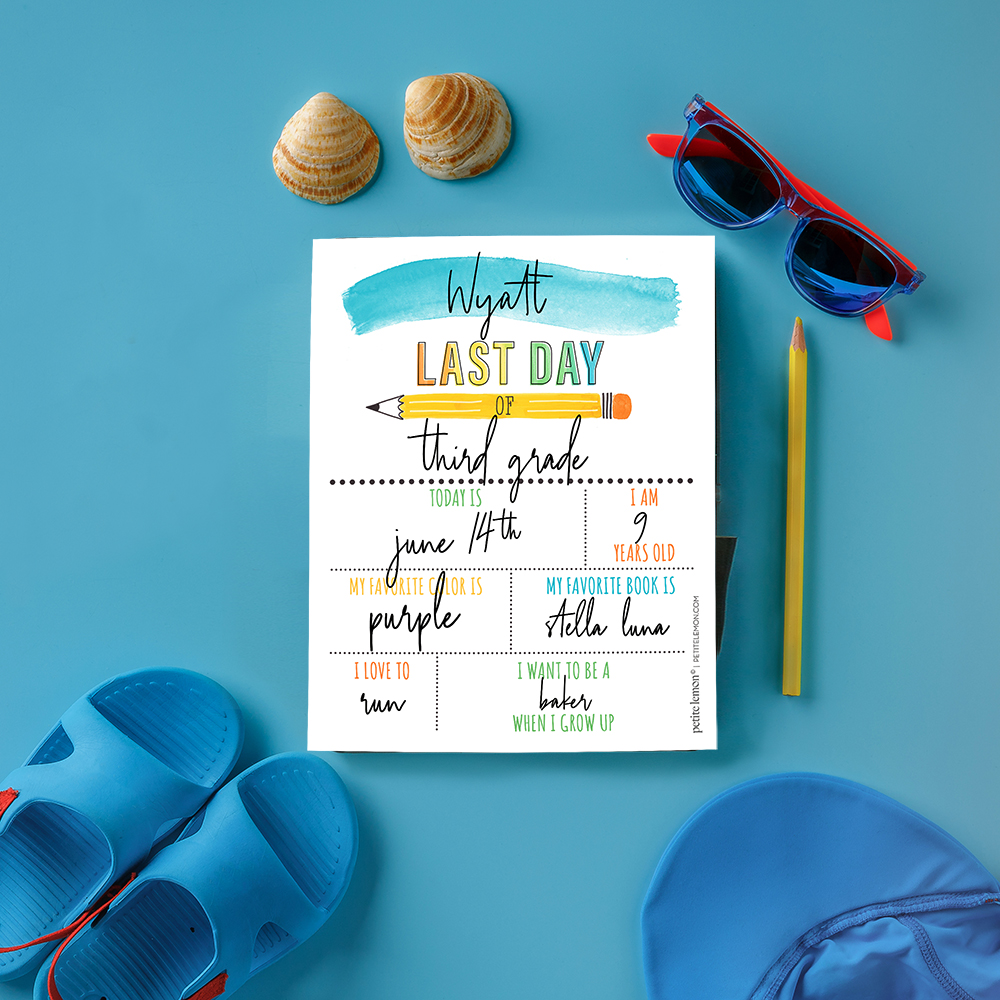
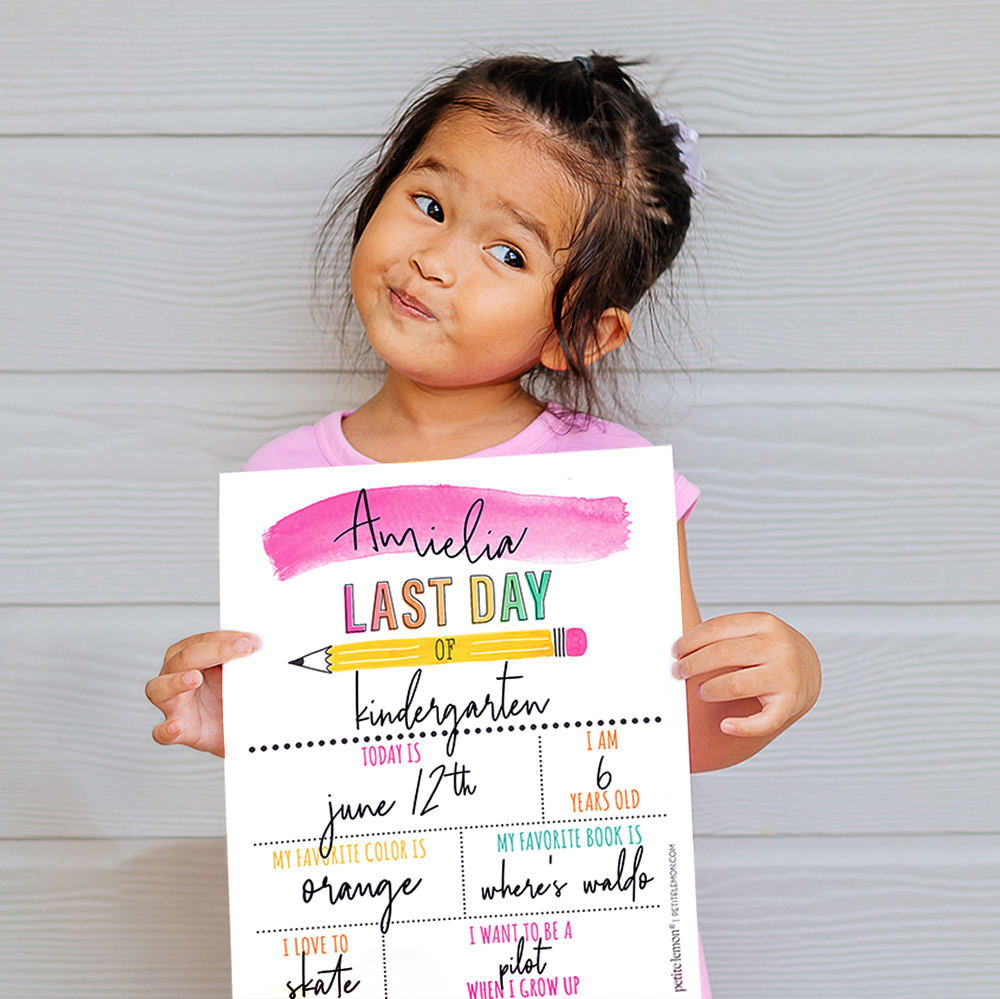
Everyone loves our back to school sign so much that we created this fun and free Last Day of School sign that they can proudly display in a photo as a memento of the last day. All you need to do is download the file, print it, fill out the prompts and take a photo!
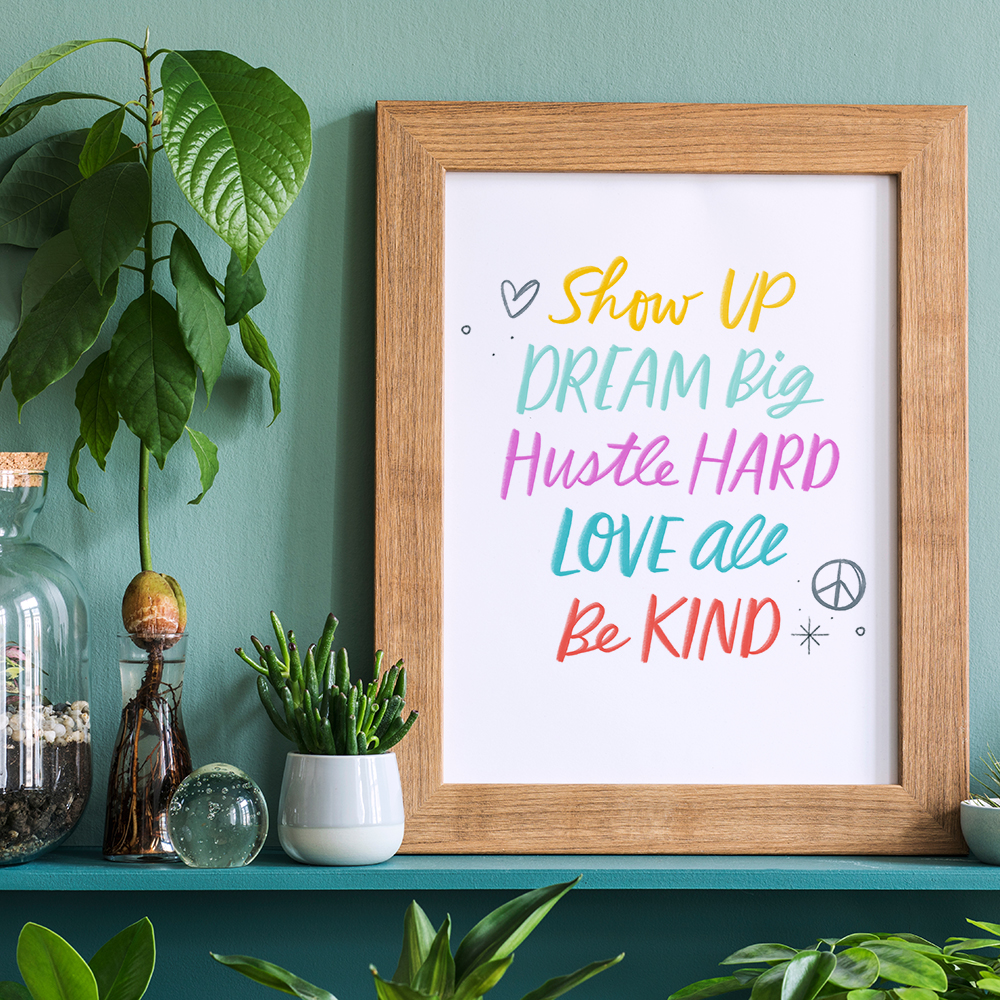
Free Printable: Show Up
Sometimes the most important thing is to simply show up. Being there for friends, family, a movement or even just yourself can
be as big of a gesture as anything else!
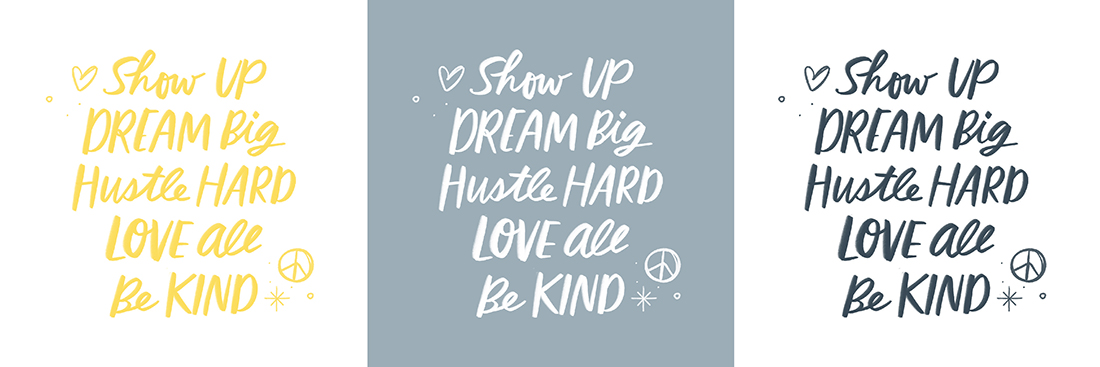
Like many other 8.5×11 printables, we are providing a couple colour options as well as some black-and-white friendly options.
Click here for the printable download.
Petite Lemon Presents: How to Make a DIY Snow Globe
Our fab Creative Director Hillary is at it again, creating a fun freebie for all you parents to do with your kids.
Half of the country is under snow and the other half seems to be having a heat wave, but everyone can experience a little winter wonderland with these DIY snow globes. Here’s what you’ll need and the step-by-step instructions to create your own homemade snow globes.
FOR THIS PROJECT, YOU WILL NEED:
1 – Waterproof glue (We used E600)
2 – Glitter (tinsel glitter gives more of a snowing effect. We mixed tinsel glitter with regular sparkly glitter)
3 – Liquid gylcerin (you can get this at your local pharmacy. We’ve heard baby oil works just as well.)
4 – Glass jars (we used a variety of sizes and shapes)
5 – Figurines, plastic toys, and/or trees
6 – Ribbon (optional)
7 – Water (distilled is best)
OK, LET’S GET STARTED:
– Use glue to adhere figurines and/or trees onto the jar’s lid. If you need your figure to stand up a little taller, you might want to glue your figure on to a thin piece of wood and then glue that inside the lid. Let this dry for several hours or overnight. (Trust us — you want to let this dry. We got excited about our first batch and didn’t let them dry properly. They ended up coming unglued when we shook the snow globe.)
– After the figurines have dried, gather your glitter, glycerin and distilled water. Fill up the jar with water and add a drop or two of glycerin — depending on the size of the jar. The glycerin helps “snow” fall down more slowly. We checked the water level by gently placing our lid back on the jar. Add more water or dump some water out if needed. You want to avoid having too much air when you seal it up.
– Add the glitter. Use a good amount. You can never have too much glitter, right?
– Put a line of glue around the rim of the jar. Now screw the lid with the figure on to the jar. Make sure it’s tight. Let the glue dry — give it a couple hours or let it dry overnight again. Then we added another bead of glue around the lip of the lid when we turned it over, just to make sure it doesn’t leak at all.
– If you want to decorate it further, you can now add ribbon around the lid.
– Enjoy your snow globe and as they say, “Let it snow, let it snow, let it snow!”
Free Printable: Giant Calendar Download
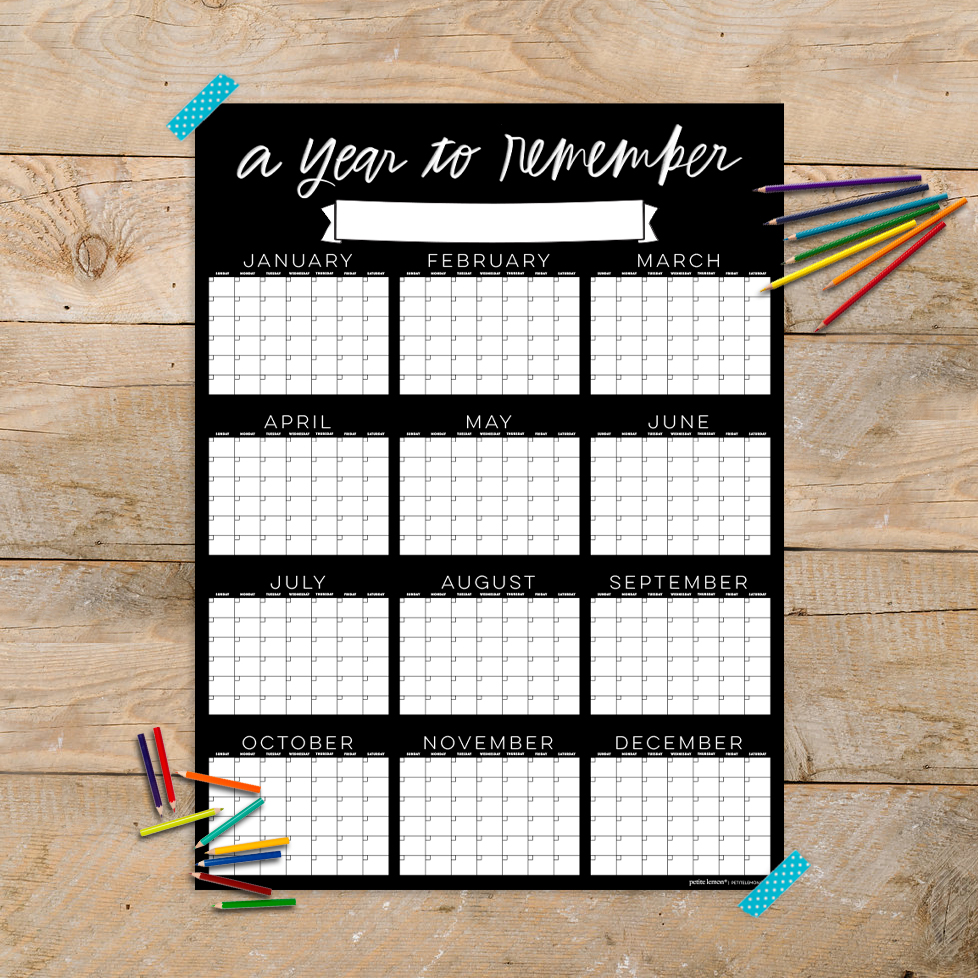
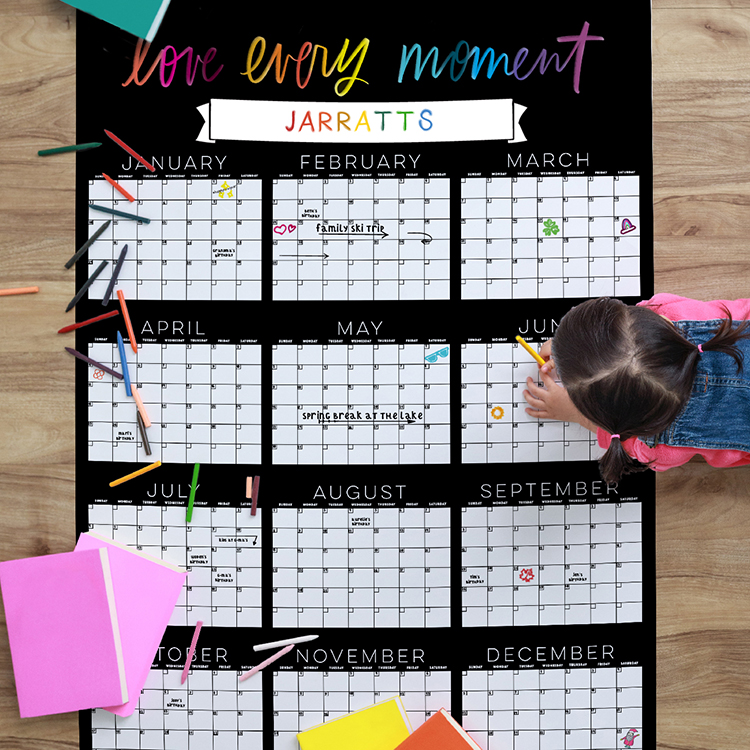
Your BIG 2021 goals deserve a BIG calendar! Download our free GIANT calendar. Did we mention it’s big?
Like our other large-format printables, this calendar can be downloaded and taken to local printer, like FedEx Office, Staples, or Alphagraphics, and printed at a jumbo 36”x48” or smaller at 24”x32” or 12”x16”.
Click here for printing instructions, and here for the calendar download.
pandemic bingo: free download
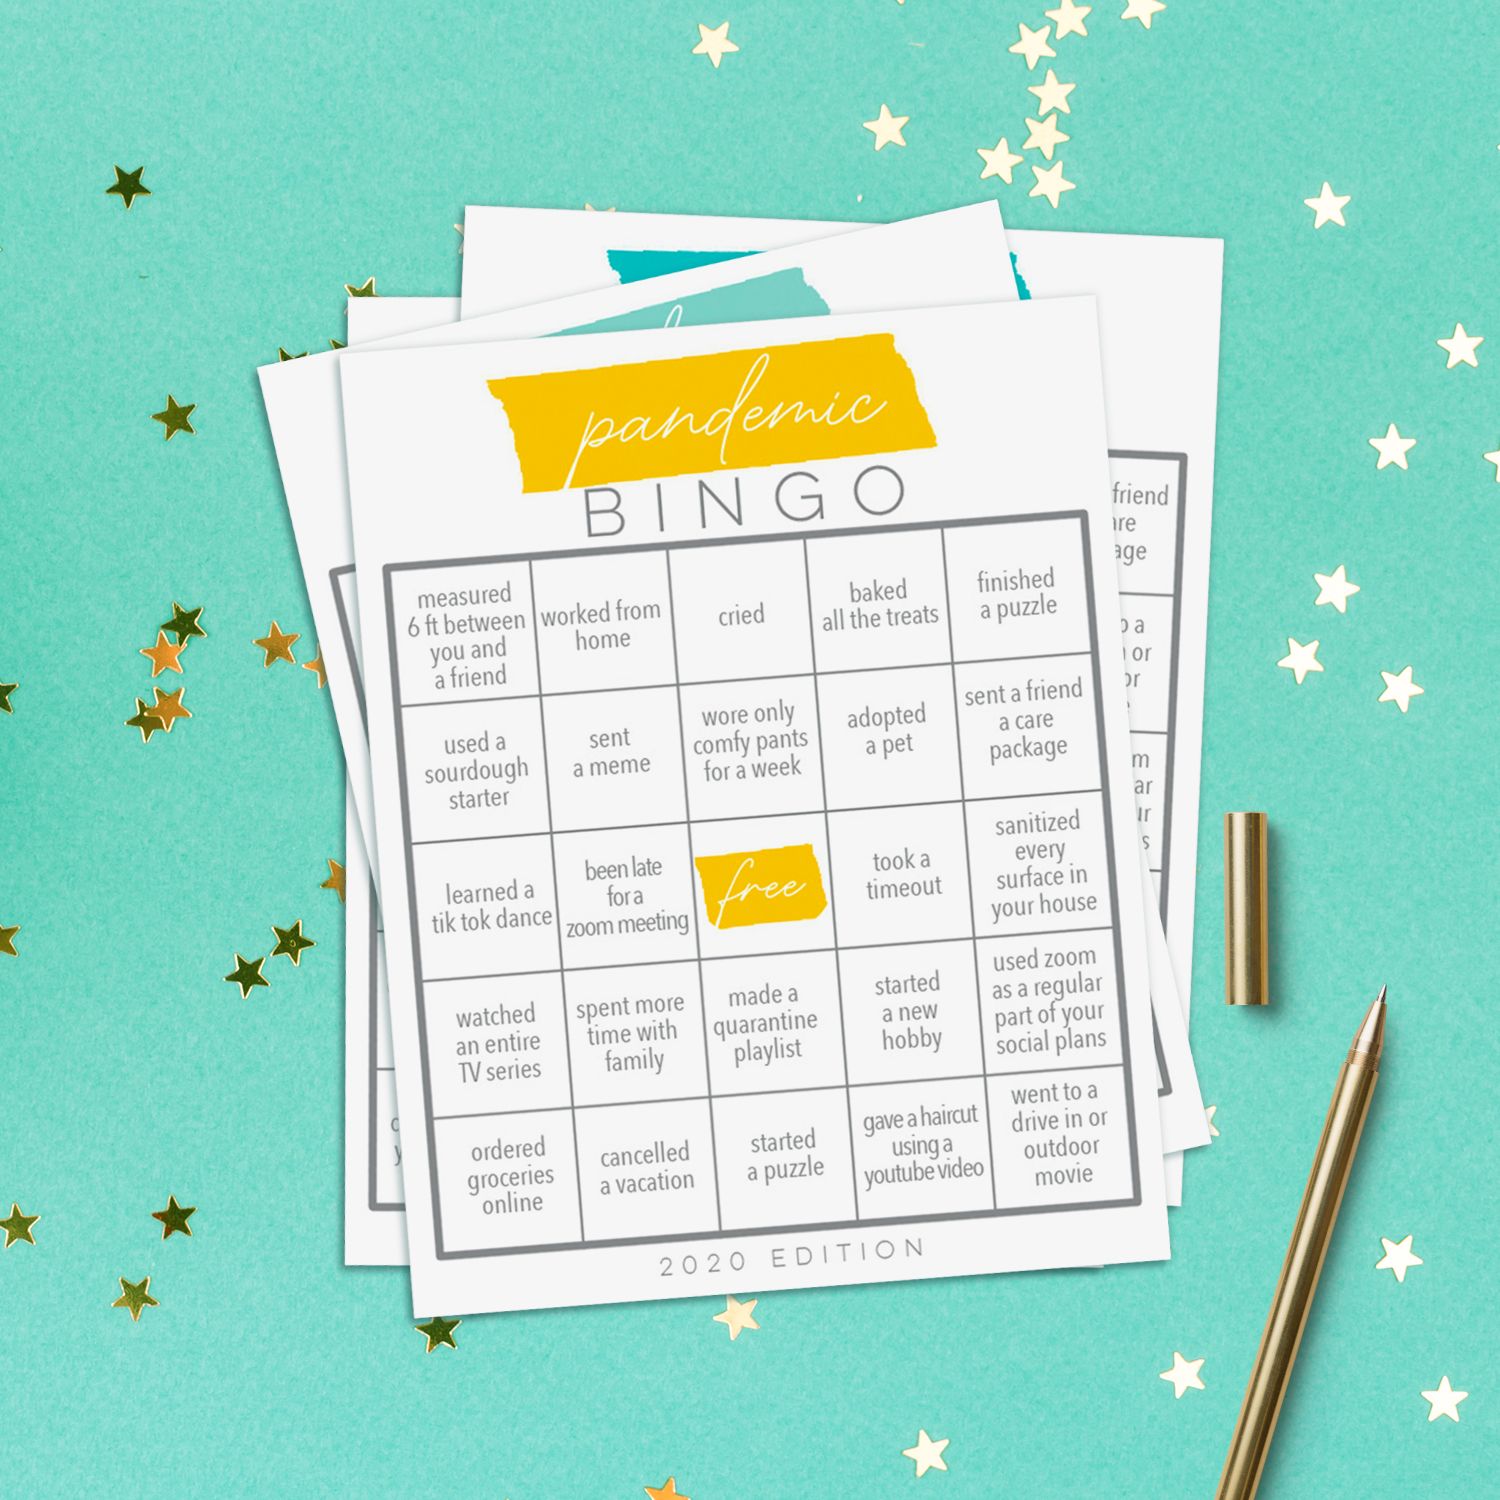
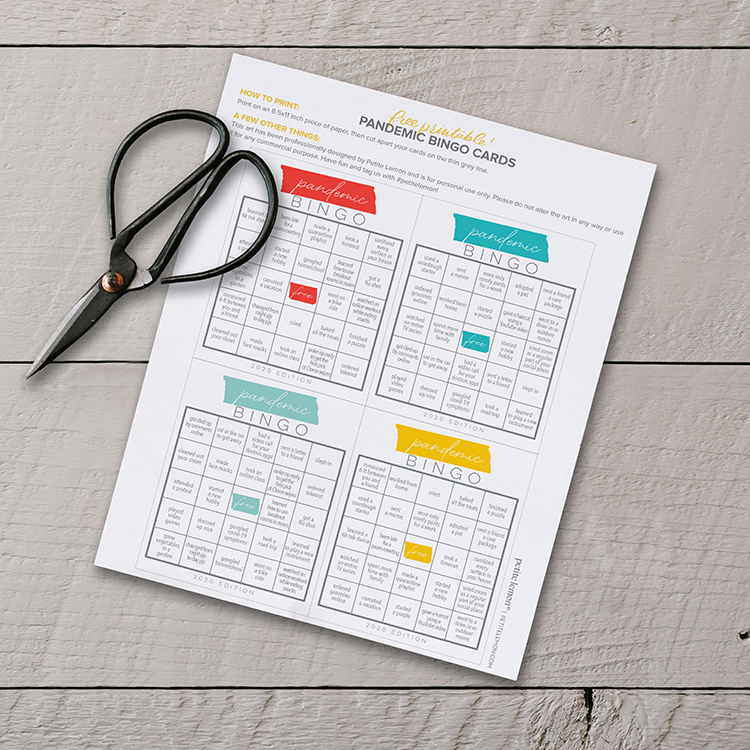
As cities re-open and re-close during these unusual times, many of us have had to adapt to the ever-changing normal. These tongue-in-cheek bingo cards are a fun way to compare with family at home or friends over Zoom or meetup what everyone’s normal looks like now—how many bingos can you make?
Click here to download a sheet of four bingo cards.
Orange Things We LOVE
It’s October and we are all about the color orange. How can you not love it when you see it everywhere at this time of year?!?
From top left to bottom right:
*If you are a room mom or if you’re in charge of putting treats together, you’ll love these FREE printable Halloween stickers from Petite Lemon. Use your printer to print them off on a sticker sheet and use them to decorate your spooky treats! Download the free stickers here.
http://www.petitelemon.com/Fun/PL_TreatStickers_FNL.pdf
1/2 Hour Easy Summer DIY Tent Project
It’s so much fun to have the little ones home during the summer. Their drive for adventure is inspiring (and oh so tiring)!!! Here’s a fun and easy DIY project (and when I say easy, I really mean easy) to help keep their imaginative minds thriving. This project can be made in about a 1/2 hour with supplies you probably already have at home.
Supplies Needed:
- One sheet (you can even use an old one that you have lying around)
- Rope
- Ribbon
- Tent stakes
- Sewing machine and sewing accessories
Step 1: Sew a piece of ribbon to each corner of the street (just make sure there is enough to tie a bow).
Step 2: Tie a piece of rope to two trees and drape sheet over the rope.
Step 3: Determine where the tent stakes need to go in the ground (depending on where the corners of the sheet fall on the ground), and put them in the ground.
Step 4: Tie the ribbon on each corner of the sheet to the tent stake.
Step 5: Add some pillows, blankets, books, and anything else your kids love into the tent.
Upcycled T-Shirt Dress
We all have a stack of them sitting in our home – t-shirts! Lots and lots of t-shirts. You know those t-shirts that are too short, have a stain, or you hate to toss because they are a favorite for one reason or another. Instead of throwing them out, repurpose them into a new outfit for your little ones.
Gather these few supplies:
- T-shirt
- 2″ wide ribbon (1.5 – 2 yards)
- Fabric of your choice (1.5 yards)
- Scissors
- Sewing machine and accessories
- Pins
First, cut your t-shirt. It’s best to put the t-shirt on your child and determine where you want the skirt to hang. Add 1″ and cut the shirt. I cut about 4″ off my tee. There is no right or wrong place to cut shirt.
Next, put the cut shirt back on your child and measure from the bottom of the t-shirt to where you want the skirt to hang. Add 3″. I wanted mine to hang about 19″ below the tee, so I cut my fabric at 22″. I left mine the same width as the fabric and cut two rectangles of that same size.
Sew the two rectangles together on the 22″ side. Sew them right sides together so you make a tube, then press the seams open.
Next, hem the bottom of the skirt. Turn the skirt section inside out, then fold over the top of the skirt section 1″, and press it in place. Add another 1″ and press. Then sew into place.
Next, we’ll finish the raw edge on the top. A serger machine works best if you have one, otherwise fold over the top 1″, press, and sew. I used a zigzag stitch.
Pin the pleats around the entire skirt. Measure along the shirt as you are pinning. I just eyeballed it, and did my best.
You want the finished circle to fit about with the width of the t-shirt. Pin the t-shirt to the pleated skirt. The t-shirt will sit down on the top of the pleats about 1″. Sew on the top of the pleats to sew it all together.
And…ta dah! You have finished sewing the dress.
Add a ribbon to tie around waist of the skirt. This will cinch it all together and give it a more fitted look. The dress looks cute both ways.
DIY Quilt Project
Time flies. And when you have kids, it’s like our fearless leader Paula says, “It’s supersonic!” That’s why we wanted to offer a DIY quilt project to help you hold onto memories of your little one’s favorite baby clothes, like personalized onesies, big sister shirts, big brother shirts, or 1st birthday shirts. These quilts will become cherished keepsakes that will be used for years.
Below are the supplies you’ll need, as well as the instructions.
Supplies
-Old baby clothes
-Scissors or cutting knife
-Ruler
-Cutting mat
-Sewing machine
-Pins
-Thick thread or yarn to tie baby quilt
-Fusible web
-Additional fabric for the back of the quilt
Instructions:
- Wash and dry all your fabrics and baby clothes.
- Iron any baby clothes and fabric pieces if necessary to make it easier to work with.
- Determine the size you want for your quilt squares and be sure to add a ¼” for each square for a seam allowance. Use a cutting mat and scissors to cut baby clothes into squares. Tip: When cutting up the baby clothes, be sure to incorporate the small ruffles, lace, icons, buttons, etc. to help remind of your baby in these clothes. It makes a great addition to the final quilt. Be sure to fasten buttons or snaps down securely.
- Trim fusible web to the size of your quilt squares and iron fusible web to the back of your squares (see fusible web packaging for additional instructions).
- Lay quilt squares out and determine what pattern you want then sew the pieces together in rows first and then sew the rows together to make quilt. Tip: Use a sticky note or piece of tape to number the pieces and rows. This will help you keep everything in order as you sew.
- Lay the back piece of fabric out (right side down) and lay the sewn quilt squares on top (right side up). Trim fabric to size for the quilt leaving enough fabric around the edges to allow you to turn and finish the quilt (about 4 – 5”).
- Pin quilt to the back piece of fabric. Use a needle and yarn to tie quilt. Tip: It’s easier to tie the quilt in the center of each square versus the corners of the squares.
- Fold fabric around the edge of the quilt, pin in place, and sew around edges to finish the quilt.
Personalized Baby Gifts: DIY + Gift Sets
Giving personalized baby gifts is a really thoughtful gesture and if you’re crafty, making something is also special, so why not combine the two to create a custom gift set? We have some DIY projects on our FUN page perfect for combining with personalized onesies, big sister shirts, big brother shirts, or 1st birthday shirts.
In terms of cuteness and function, when it comes to newborn gifts not much goes better together than personalized onesies and burp cloths! DIY burp cloth instructions here. (Shown:Happy Hearts and Modern Monogram personalized onesies)
For little artists, pair the Crayon Bag (tutorial here) and drawing themed personalized baby gifts, big brother or big sister shirts, 1st birthday shirts, etc. (Shown: Love to Sketch Big Brother T shirt, Playful Doodles Big Sister Tshirt, Color Me personalized growth chart)
Other DIYs and personalized baby gifts that work well together? The Chevron Nursery Wall Art DIY and Chic Chevron birthday tee or a growth chart and month to month onesie DIY to record baby’s growth practically from day one.
We hope these personalized baby gifts and DIYs inspired you to create some super sweet custom sets for upcoming baby showers or birthdays.