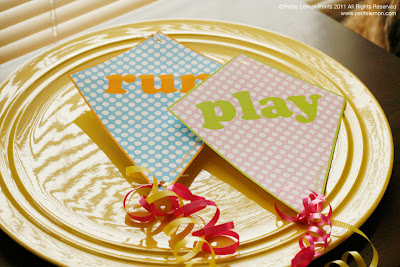
Spring is right around the corner! And what better way to celebrate than by flying a kite! Whether flying outside or even in your living room, our kid’s kite is sure to be a hit.

(The finished product — ready to fly!)
You’ll Need:
White card stock
Scissors
Hole punch
String or yarn
2 straws
Glue
Ribbon
Scissors
Hole punch
String or yarn
2 straws
Glue
Ribbon
Making our kite is easy!
1. Print out kite shape on card stock (choose our Play or Run kite!)
2. Make a cross using 2 straws and cut to size
3. Glue straws, with the vertical straw over the horizontal straw
4. Punch a hole over the 2 white circles
5. Tie string from one hole to the next, making a loop
6. Tie a long string to the middle of the loop, as the flying line
7. Attach ribbons to the bottom of the kite as a tail
8. Go fly your kite!

(Back of kite – shows you how the straws and string are attached)
We’ve recently also started sharing some of our crafts with Shutterlfy’s blog — check out our most recent posts here.
Go fly your kite!
Petite Lemon
Petite Lemon
